White Balance is getting neutral colors such as whites and grays to appear neutral in a photo by compensating for the temperature or tint of available light. Often the color temperature chosen is based on an artistic decision. It’s important to know how to set it so you have control over whatever it is you want. Shooting in RAW will allow you to adjust the white balance in ways that aren’t possible with jpgs. In the days of film, you had to use film specifically designed for certain temperatures of light or filters to correct white balance.
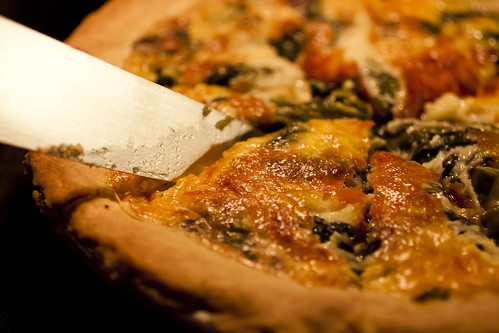
The hotter the light the bluer it appears, but according to color theory, artistically choosing for it to appear golden or red gives a feeling of warmth whereas making it blue makes it appear cold. This color association is why typically food will be shot in warmer temperatures – it’s more appetizing – and things like ice will look best cooler.

Shooting:
You can always shoot using one of the camera presets. In most situations these or Auto White Balance [AWB] will work fine, but custom white balance is always the most accurate. Even if you want to adjust it later when editing it’s best to get it right when shooting.
The typical presets are: Auto, Daylight, Shade, Cloudy, Tungsten, White Fluorescent Light, and Flash. I’ve made this chart with the Kelvin measurement for some typical light situations:
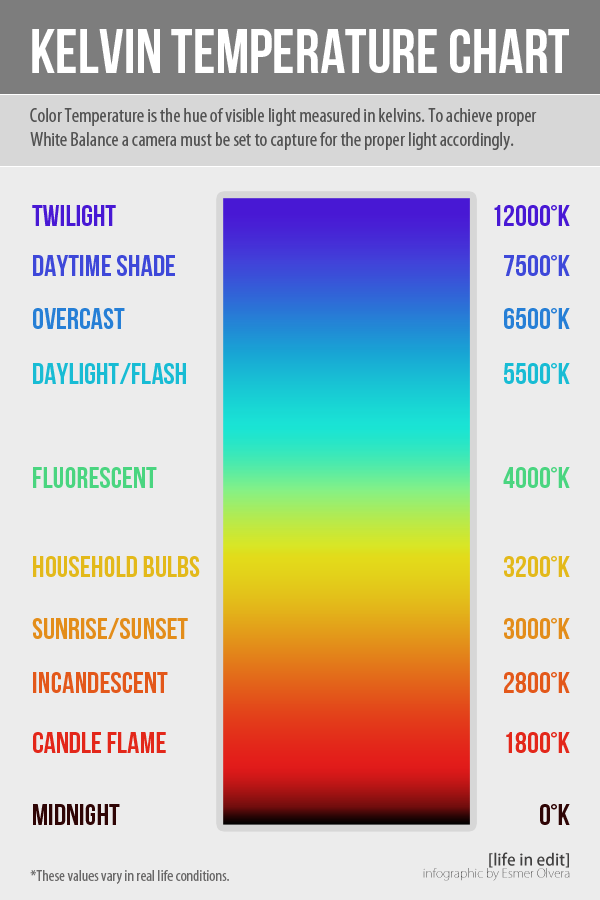
If you want more accuracy use the “Custom White Balance” setting. You will need something white like a sheet of paper to photograph a sample from. Some higher end cameras will let you choose the actual temperature number like in the chart above. Here’s is what you would do on a Canon. I used a Rebel T1i in the example.
First, you will need to take a photo of something completely white under the lighting conditions you will be shooting in.
Press the menu button, go to the second screen and select Custom WB.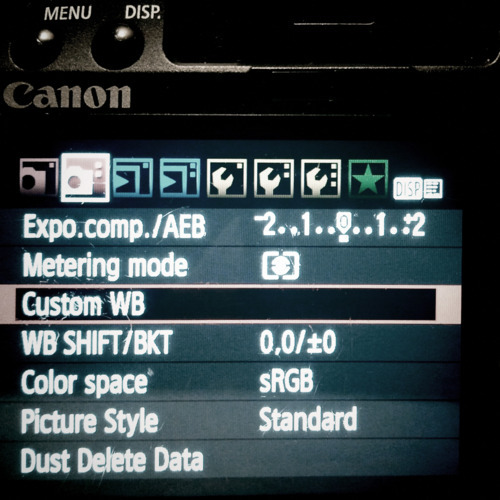
Then you’ll need to select the photo you took of something white.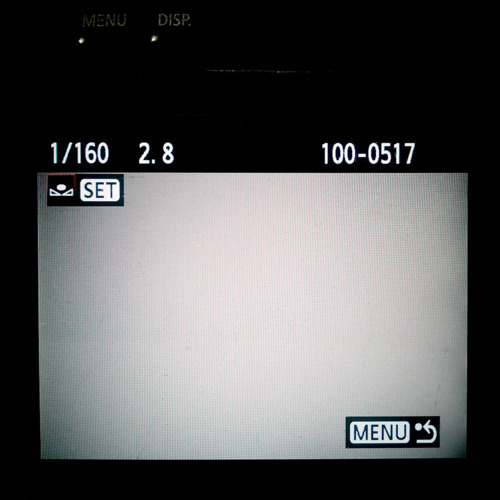
Then when you press the “Set” button to select OK it’s set.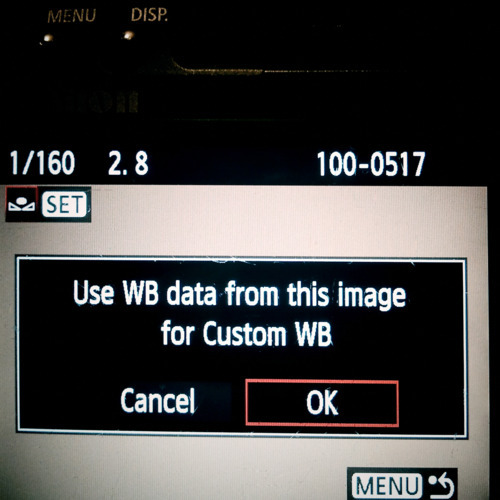
It will remind you to set the White Balance to Custom.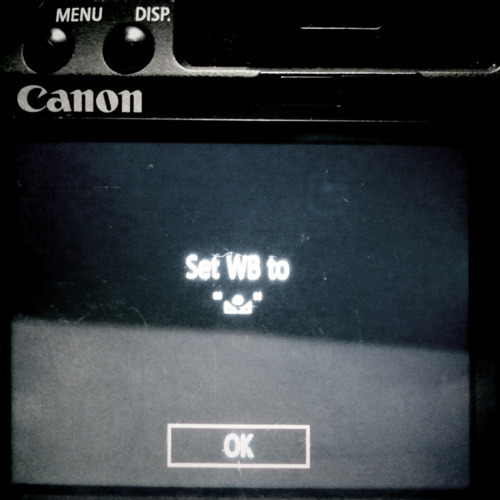
You can do that in the White Balance Menu. On the Canon Rebels it’s the up arrow labeled WB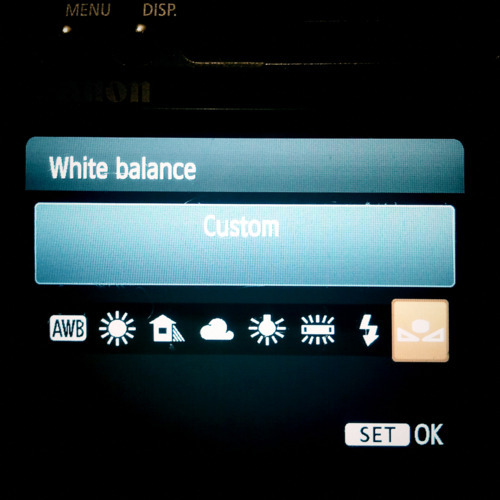
Post Processing:
There are 2 variables to adjust: Temperature and Tint. Temperature determines how blue [cool] or red [warm] the whites appear. Tint is the balance of green and magenta – similar to color balance settings on a tv. Different types of light sources produce different tints and temperatures of light. Most fluorescent lights produce a green tint, daylight has a cool temperature, and incandescent bulbs produce very warm light.
To edit in Camera Raw you adjust the the sliders for Temperature and Tint as desired. It’s a pretty intuitive interface.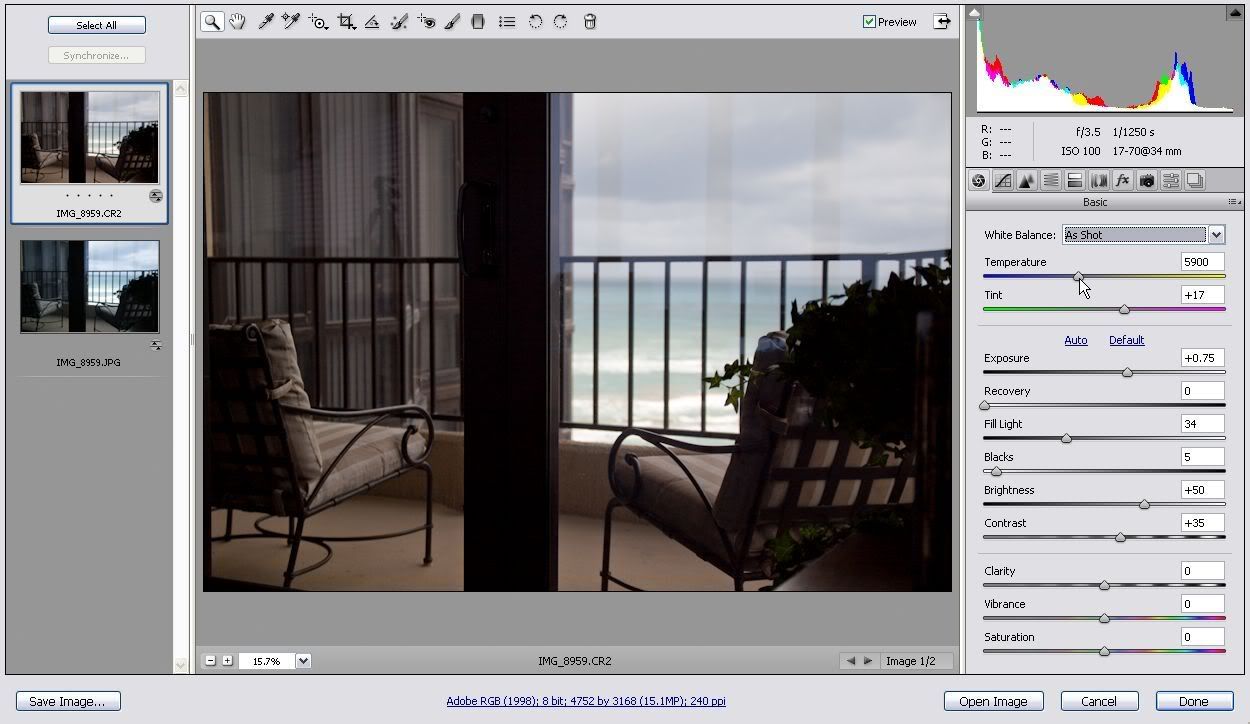
Although the best way to edit white balance is to shoot and edit in RAW, you can make adjustments in Photoshop by using “Hue/Saturation” to adjust tint if the photo is too green. Sliding “Hue” to the left will add more magenta hues and sliding to the right will make it greener.
Image > Adjustments > Hue/Saturation
shortcuts: ctrl+alt+U or cmd+option+U
For non-destructive editing use:
Layer > New Adjustment Layer > Hue/Saturation…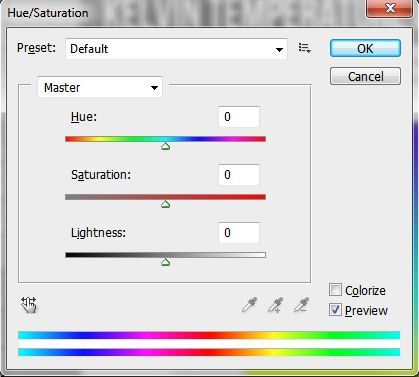
To adjust the temperature the easiest thing to do is use “Photo Filter.” Select the desired filter and adjust the density until you get the result you want, or even use a custom color to use as a filter.
Image > Adjustments > Photo Filter…
For non-destructive editng:Layer > New Adjustment Layer > Photo Filter…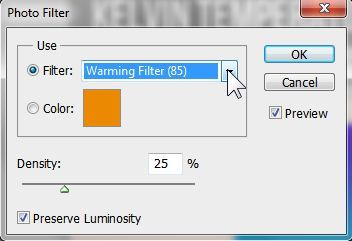
The Results: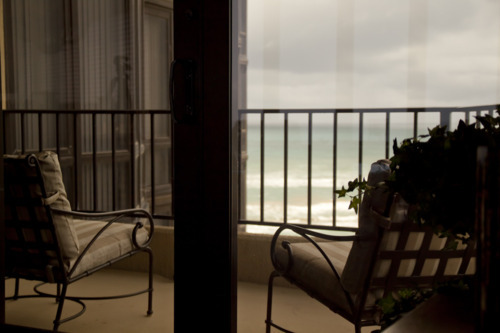

 The images are in order of warm, neutral, cool.
Leave a Reply