Introduction: The start of Summer means the likely-hood of extra free time, and yeah, that also means taking photos of all the fun you will be having with all that extra free time. The problem is you just can’t seem to get good shots in that harsh, bright spotlight/heat-lamp that is the Sun. Well, here are some things you might want to know for shooting some great portraits AND landscapes in bright sunlight. You will likely need to have a copy of your camera’s manual to know how to change everything for your specific camera, and really you should always have a copy of your manual with you. Personally I always keep a PDF copy on my phone…just in case.
*If you’d like to see a larger view of any of my photos, just click the photo. They link right to my flickr page.
Tip 01: If you’re using a camera that has manual exposure control and you want to try getting away from using those auto settings then you might want to use the Sunny 16 Rule. The Sunny 16 Rule is basically this:

You choose an ISO setting and your shutter speed will be the nearest reciprocal of that number. Meaning that if you choose an ISO of 100, then you should set your shutter speed to 1/100 [100/1 = 1/100]. The nearest whole step shutter speed to 1/100 will be will be 1/125 if you’d like to stick to only whole values. The aperture setting will depend on the lighting conditions as shown in the chart.
Tip 02: For Shooting Portraits, this might seem like the most obvious thing; seek out open SHADE! Find some trees to stand under…ANYTHING that shields the direct sunlight.

It may seem like the more light the better but the angle of direct midday sunlight will create some unpleasant shadows on the subject’s face. With shade you avoid all of this:

Tip 03: In direct overhead sunlight or backlit situations in which you don’t want a silhouette, you can always use a fill flash. That is just a fancy way of saying turn the flash on to fill in the shadows from the harsh overhead light or to compensate for back-lighting. The results will be something like this:

Much. Better.
You can use fill flash in shade as well. You may notice in the first photo that the sky in the background is washed out, but if you expose correctly for the sky your subject will be too dark.

That is because there is a limited dynamic range of lightness and darkness values that can be captured in one shot by a camera’s sensor or film. By adding a fill flash, both the foreground and background get correct exposure.

Tip 04: An important thing to consider is the ISO setting. Be aware of your ISO setting! That setting determines your camera sensor’s sensitivity to light. Keep it at a setting like 100 or even lower if available on your camera. If you’re still using film, for some reason, then you’re stuck with whatever ISO film you’ve purchased. High ISOs aren’t very useful in bright light and will only result in noisy photos. (There are times when a high ISO and flash combination will be useful, such as a low-light situation, but i’ll go into that some other time.)
Tip 05: For shooting landscapes, a major problem is often washed or blown out skies. There are a number of things you can do to fix that, but if you don’t plan on doing any photo editing AND you own an SLR you might want to invest in a circular polarizing filter. A polarizing filter will make the sky a darker blue and remove harsh reflections from shiny surfaces.
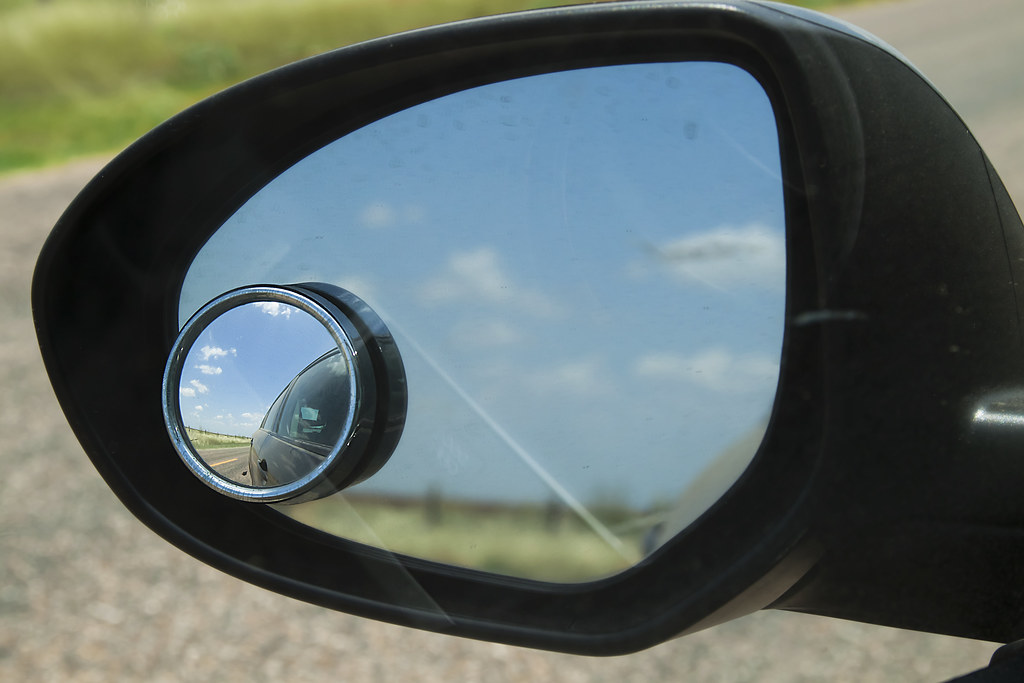
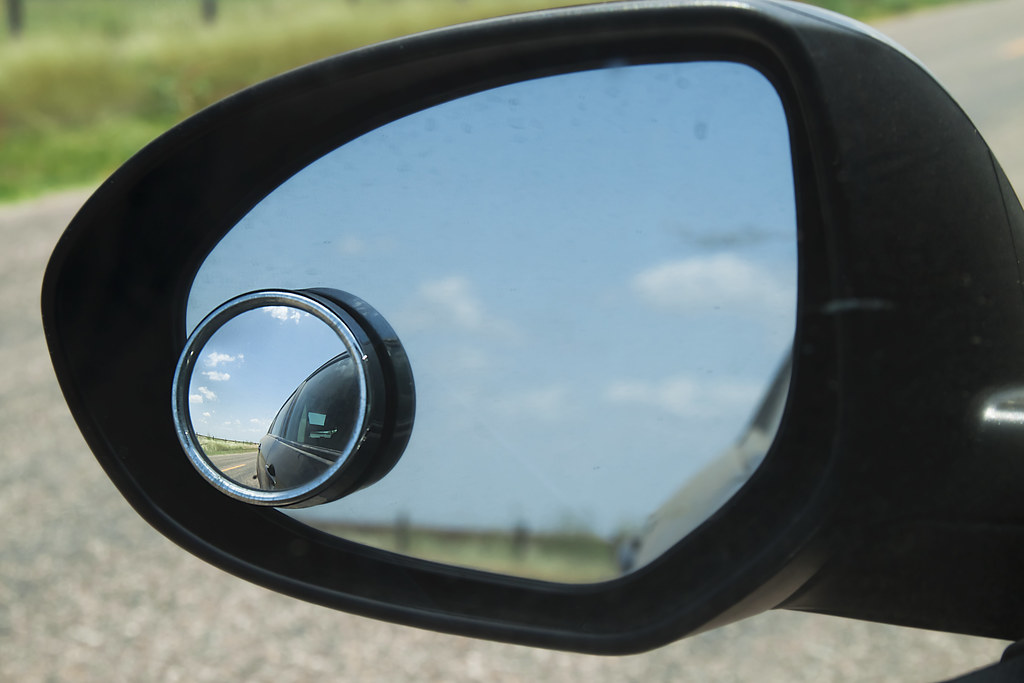
Before & After


They’re like polarized sunglasses for your camera. Just be sure to get one that fits the diameter of your lens. They aren’t very expensive, around $20 for a 58mm filter that would fit on most kit lenses. 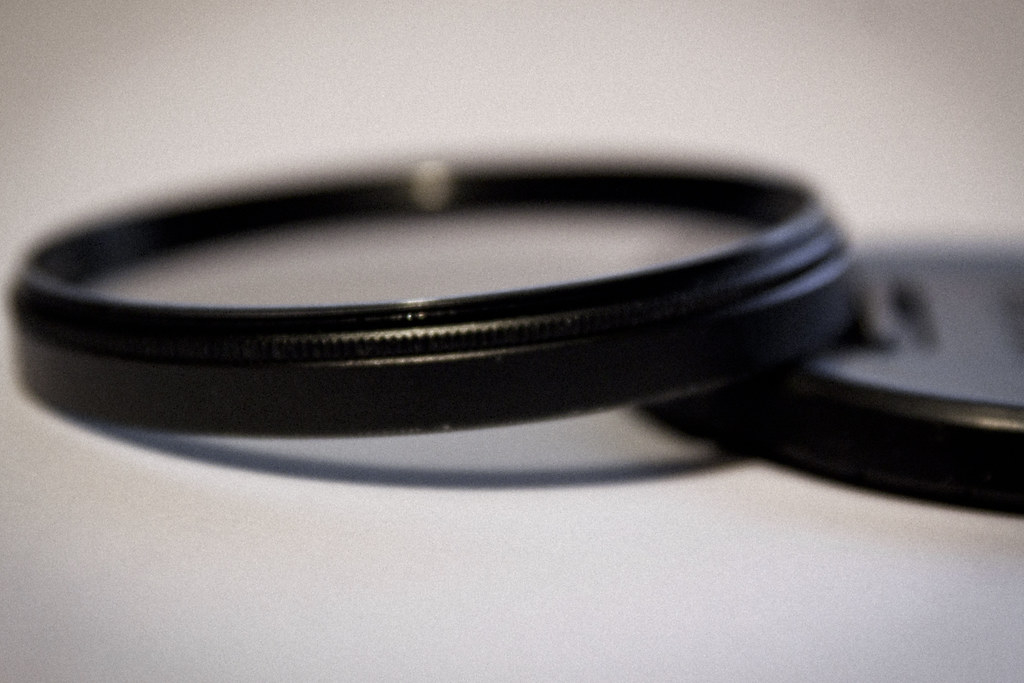
Again, if you’re using a camera with more advanced settings you might want to go manual for those landscape shots. Definitely apply the Sunny 16 Rule here. Again, keep your ISO as low as possible and use a polarizing filter if available. To get greater depth of field, so that you have as much of the foreground AND background in focus as possible, you might want to look into calculating the Hyperfocal Distance for the settings you’re using (I will later be making a tutorial on how to do this).
http://en.wikipedia.org/wiki/Hyperfocal_distance
You can likely skip the tripod in the bright light but you MIGHT still want to use one to make sure the photo is perfectly level. If you want to know a bit more about when you should use a tripod refer to my previous post, The Reciprocal Rule in Photography.
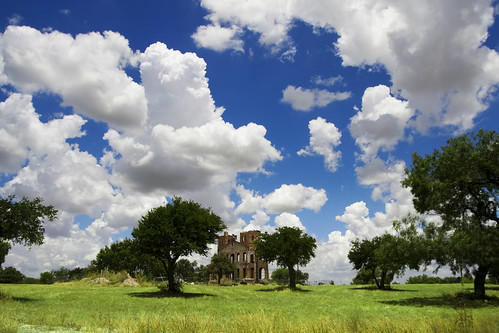
That concludes the basics you need to know to get better control of the available natural light so you can take shots like this too…
Leave a Reply