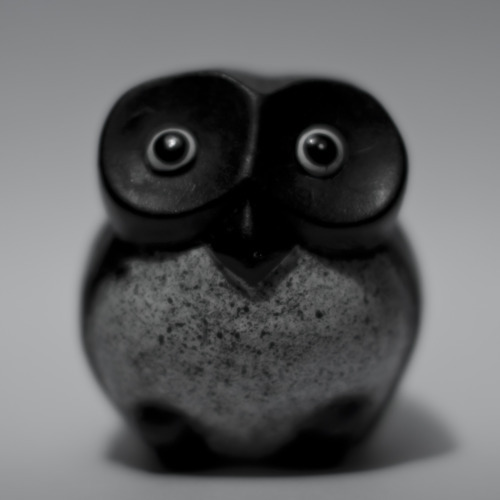
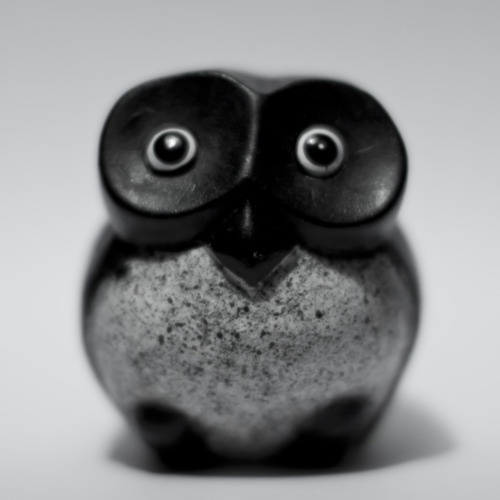
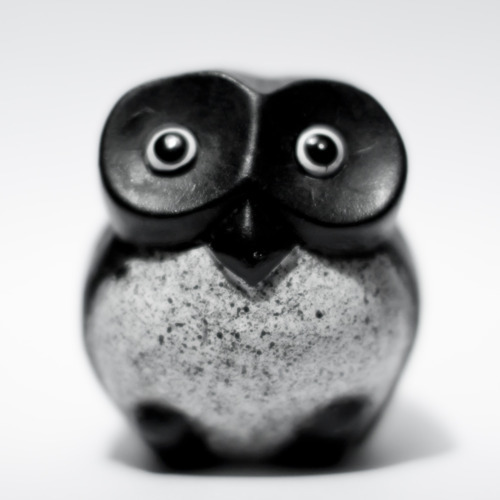
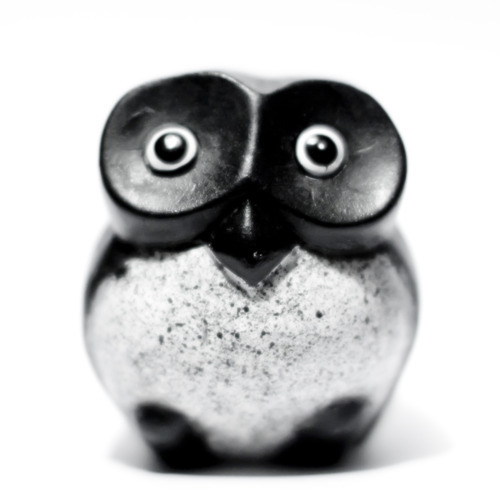
High Dynamic Range Photography is fairly easy to do with a tripod and some HDR software and an image editing program. I’ll go over several ways to do it.
Dynamic range simply means the range of values between lightest and darkest visible tones. The idea behind HDR Photography is similar to the Zone System. I think of it as an extension to the Zone System and one of the modern applications of it in digital photography. It’s not just about making cool almost surreal photos, the goal is to capture tones in every zone. For more info on zones and tonal values see my previous post: [Tutorial #5: The Zone System]
For this tutorial, I’ll be using both Photomatix to quickly create HDR images and Photoshop to create them manually. First I’ll go over Photomatix. It’s reasonably priced at $99 for the pro version and $39 for the light version. http://www.hdrsoft.com/ Anyone can use the trial version which never expires but does watermark images made with some of the advanced features.
Photoshop CS5’s new feature is not very good…it really REQUIRES raw files for actual HDR images…and just gave me an error message about my images not being the same size…so converting to JPG or shooting in JPG will result in a terrible image. 

no, not ok, adobe. :<
It once even rendered a completely black image. Not very HIGH in dynamic range at all. :-/
Step 01: Shooting
If you want to do HDR the right way, you will need to Bracket. This means taking anywhere between 3 and 5 different exposure values of the same image. One correct exposure and then over and under exposed by 1 and 2 stops. I would strongly recommend using a tripod and shooting in RAW. If you take your photography seriously you should always shoot in RAW – even if right now you aren’t using or editing those files.
When shooting try to work quickly and shoot with similar lighting which may be difficult with landscapes if it suddenly becomes overcast or sunny. Clouds and plants also move pretty quickly on windy days. When putting the images together later it will cause ghosting from the different objects not being in the same place in each photo. That’s why the tripod is important. There may be similar difficulties with motion blur and ghosting on longer exposures. You want each of the 5 images to be as identical as possible so they line up properly.
Step 02: Pre-Processing
It’s definitely a bit tedious if the image is made from multiple shots, but it is possible to create them from one correctly exposed RAW file so you don’t have to worry about ghosting from any moving objects. You wont get all the dynamic range you can get from shooting multiple images but you can still get a similar effect.
When processing the RAW file export an image at the EV values of -2, -1, 0, +1, +2. For more on this see my previous post [Explaning Exposure]


For demonstration purposes i’ll be using this one exposure method.
Step 03a: Processing in Photomatix
The first thing you do is load your bracketed photos [3-5 photos].
If the different photos were made from one file the meta info will have the same exposure value recorded for how it was shot. You will need to manually fill in the exposure value and the increments at which they were adjusted to. I did them in whole stop increments from -2 to +2.

When you press “ok” it will give you a few options for automatically dealing with several things, such as alignment and ghosting. I didn’t need to check any of these since I did mine off the same image.
It will then composite a preview image that you can adjust. The screen will look like this:
 [click image to enlarge]
There are several detailed settings on the left and the filmstrip along the bottom contains various presets that you can apply and then fine tune on the left panel. You can use the loupe to magnify details. The top bar has all the zooming/viewing options, and there is a histogram toolbar as well.
The settings you decide on will depend on your taste. Some people love the “painterly” look and some hate it because it starts to look more like a painting than a photograph. Reducing the “smoothing” setting will increase the effect while increasing it will reduce it. The rest of the settings are best explored depending on the photo and what look you’re going for.
Step 03b Processing in Photoshop:
This step is more advanced. You need some familiarity with layers & blending modes and layer masks. First, open the correctly exposed image [EV 0]. Then “Place…” the underexposed images over the the original layer and place the over exposed images on top of those. If you need to adjust the alignment you can do so as you place each image by reducing the opacity of the placed layer and moving the layer until it matches the one under. ghosting elimination will come later.


You can play around with different layer orders and opacities – even blending modes – but i recommend setting any underexposed images to “Mulitiply” and overexposed images to “Screen.” Mulitply blends only the dark values into the final image composited and Screen only blends in the light values. this way your correctly exposed base image is being enhanced by the values in other images.
You can get even more tones values by using other filters such as “Diffuse Glow” and a Layer Mask to hide and reveal dark and light parts of each layer.
The Diffuse Glow settings I used are below, but yours may vary. You just want it to have a a soft glowing effect on the highlights. The final touch for this layer is to set it to screen mode and adjust the opacity as desired.


I added a bit of a vignette by using a copy of EV -1 layer in multiply mode over the screened layers and then using the layer mask to hide the center of the layer with a large brush in black.

The Results. 
 [click images to enlarge]
The images that are done manually aren’t as detailed and simply have an HDR effect, but it is possible and actually more time consuming in comparison… After trying Photomatix i highly recommend it. I know a lot of others do too.
I’ll do a proper HDR image later on to show how color can be exaggerated, and how the results from multiple images differ and are ultimately better.
![[lifeinedit] Photography by Esmer Olvera](https://www.lifeinedit.com/wp-content/uploads/2013/10/Life-in-Edit-Logo.png)
![[lifeinedit] Photography by Esmer Olvera](https://www.lifeinedit.com/wp-content/uploads/2013/10/Life-in-Edit-Logo-high-res.png)
Leave a Reply